I remember when brow lamination first launched in salons in the UK. I was one of the very first to try it. I have very stubborn brow hairs that don’t behave themselves even with the strongest of brow gels. And I know brows are meant to be sisters, not twins, but judging by the way each of my brows grow, sometimes I doubt if they even know each other. There’s only so much that a brow pencil can do, but brow lamination makes them look more symmetrical, all while holding them in place all day and making them look fuller and fluffier.
Since brow lamination hit the salons, at-home brow lamination kits have now become more accessible and affordable, so you don’t have to visit a pro to achieve sculpted, fluffy brows. However, I’ll be honest: I’ve had a lot of trial and error when I’ve laminated by brows at home. I’ve tried a fair few brow lamination kits and made a lot of mistakes—hello, werewolf brows and frazzled hairs.
(Image credit: @eleanorvousden for Who What Wear UK)
But now, through much testing, I think I’ve finally cracked the ideal effect for my brows. So, if you’re thinking of laminating your brows at home, I want to share my notes with you. Scroll ahead for a step-by-step guide on how to laminate your brows at home with all the key tips and tricks I’ve learnt along the way to get the best result for you and your brows.
How To Laminate Your Brows At Home
Firstly, before using any at-home brow lamination kit you’ll need to do a patch test at least 24 hours beforehand to ensure your skin doesn’t react to any of the solutions. A good place to do this is on the inside of your arm or behind your ear.
1. Clean Your Brows
So, now that you’ve done your patch test and you’re good to go, you want to start with a fresh canvas. Most brow lamination kits come with a small cleanser to remove any makeup, oil or debris from around your brows to get the best result. If you don’t have any or have run out in your kit, some micellar water on a cotton pad will do the trick, too. I have sensitive eyes and skin, so I also like to apply a bit of Aquaphor or Vaseline around the perimeter of my brows to help protect my skin before moving onto the next step.
2. Apply Brow Glue and Shape
Inside your brow lamination kit, you’ll have a brow glue (or adhesive) along with some spoolie brow brushes or Y-shaped combs. I’d argue that this step is the most crucial. This part is about creating the shape you want to fix your brows into, so take your time until you’re happy with them. You want to saturate one brow at a time with the adhesive (as it dries quickly) and use the comb or brush to sculpt your brow hairs into position. The comb gives a fluffier effect as it pushes the brow hairs flat against the skin at their full length, while a spoolie brush gives more of a gentle fluffy look.
Depending on the look you’re going for, you have a few options. You can really stretch the hairs up and out for a fluffy effect, or strategically coax certain areas to be more lifted if you want to address a particular part of your eyebrows, such as the arch or the start of your brow. As the brow gel dries, it will set them into place and feel tacky to the touch.
3. Apply Perming Solution
Now you’re happy with the shape and placement of the hairs, it’s time to apply the perming solution. Most kits come with some tiny applicator sticks to dip into the perming solution, but if you don’t have one, you could use a cotton bud, which will evenly distribute the product over the brows. Make sure your brows are nicely coated in a generous layer. Be careful not to disturb the placement of your brows underneath.
The perming solution works by breaking down the protein bonds in your eyebrow hairs, so its the first phase of setting your brows into place. Check the instructions of your kit as timings can vary, but typically you’ll want to leave this on between 3-8 minutes depending on the thickness of your eyebrow hairs. My brow hairs are on the thicker side, so I usually opt for about 6-7 minutes. If it’s your first time, start at 3-4 minutes. But if in doubt, go for less time than you think and set a timer on your phone so you don’t leave it on for too long.
4. Remove Perming Solution and Apply Fixing Solution
Once the time is up, remove the perming solution. You can use a dry cotton pad (don’t use water, as we want to avoid water on the brows for now) to remove the solution by sweeping up and out to not disturb your brows. The Y-shaped combs are good at removing excess product, too.
Next, you want to apply the fixing or setting solution, which sets the bonds in your brows hairs into place. Like the previous step, timings can vary between kits but I’d keep it on for the same amount of time you did for the perming step (between 3-8 minutes, depending on the thickness of your brows). Use a new clean applicator or cotton bud to apply a good layer over your brows.
5. Set In Place
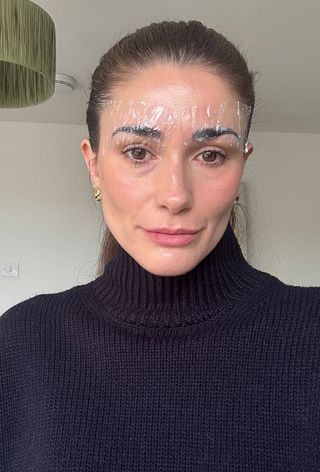
(Image credit: @eleanorvousden for Who What Wear UK)
Yes, I’m aware this looks ridiculous, but many favour applying some cling film whilst the fixing solution works its magic to keep your brow hairs in place and prevent them from flopping or dropping out of shape as it sets. Having tried brow lamination with and without this step, I recommend going for it to get the best results—especially if your brow hairs are thick or stubborn to stay in place. So sit back, relax and embrace having cling film on your head as you set a timer and wait.
6. Remove Fixing Solution
Once the time is up, you can go ahead and remove the cling film if you’re using it and take a dry cotton pad to remove the solution from each brow. Make sure to thoroughly remove it from your brows and skin.
7. Apply Brow Oil
Next, you’ll want to apply the oil included in your kit. Brow lamination can make your brows feel dry, so this helps to add back in some nourishment and give them a healthy sheen.
8. Brush Into Place
Now the treatment is done, you can use a spoolie brush to comb your brows into place and enjoy the results for up to 6-8 weeks. You’ll want to avoid getting water on your brows for 24 hours after the treatment while the brows settle into place. But for now, you can see that the brows are more lifted and stay put wherever I put them with the spoolie brush.
At this stage, you can also trim or pluck away hairs to get more of a groomed look or embrace a more natural fluffy brow look.
You’ll want to wait at least 6 weeks until doing the treatment again to not over-process your brows. After this time, new hairs will have grown through which can then be treated.
The Verdict
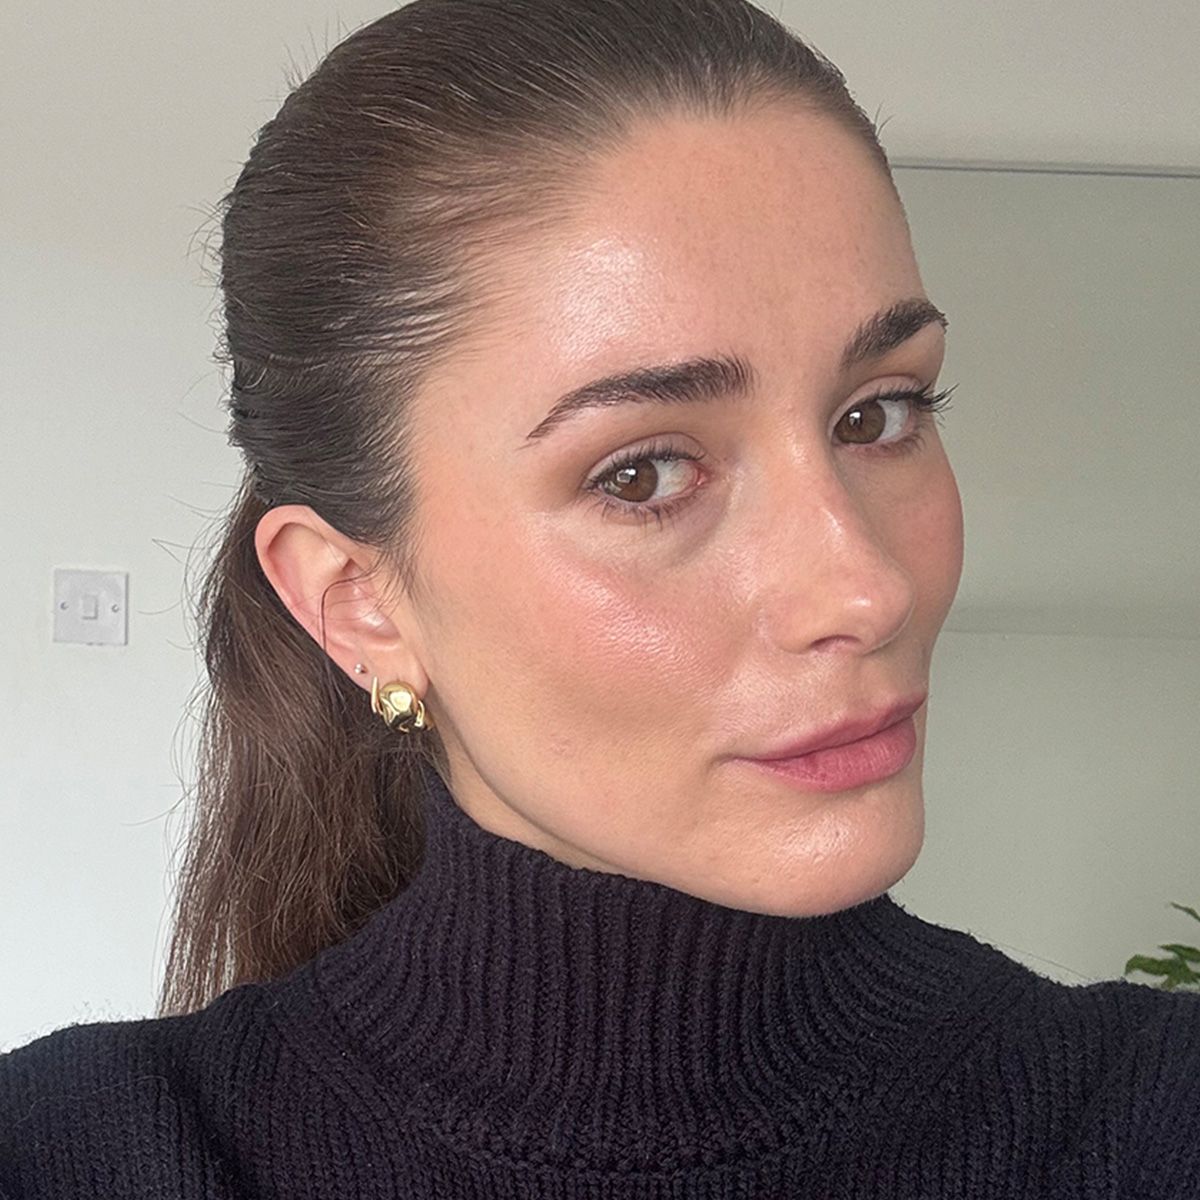
Before Brow Lamination
(Image credit: @eleanorvousden for Who What Wear UK)
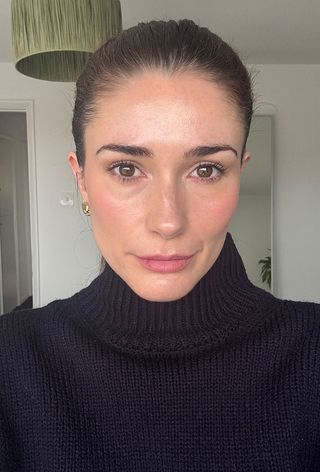
After Brow Lamination
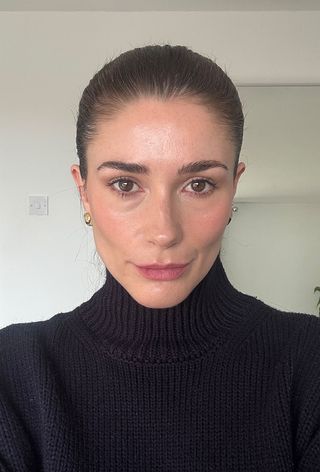
(Image credit: @eleanorvousden for Who What Wear UK)
At-home brow lamination has been a gamechanger. It not only makes my brows look thicker and fuller (I can get away with using much less of my brow pencil now) but they remain in place wherever I brush them. Before, I needed layers of brow gel to fix my brows into place, but after my brow lamination treatments a brush through is all I need for them to stay in place. It’s also helped to bring balance and make my brows look more symmetrical, which is a big win.
Just ensure you do a patch test (especially if, like me, you have sensitive skin) and err on the side of caution with timings when you’re trying it out for the first time. If you leave either of the solutions on for too long, it can over-process your brows and make them feel brittle and dry. But as long as you’re avoiding contact with water for about 24 hours after the treatment, you can enjoy the results for 6-8 weeks. Which is ideal if you want to be more low-maintenance with your brows.
Shop At-Home Brow Lamination Kits

Iconsign
Brow Lamination Kit

Sassy Saints
At-Home Brow Lamination Kit

Lucky Cat
2 In 1 Eyelash and Brow Lamination Kit

Miya Lash
Brow Lamination Kit